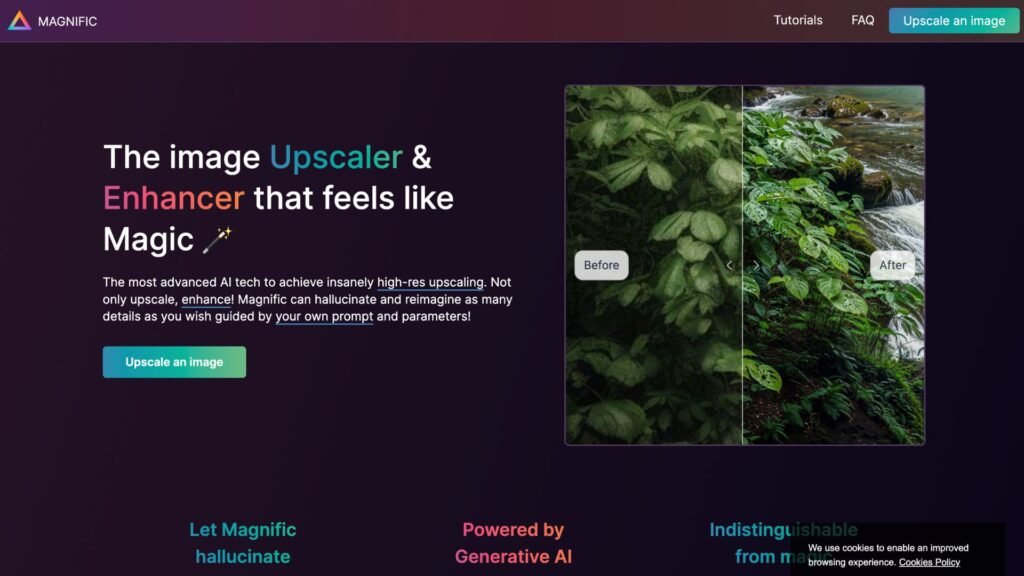
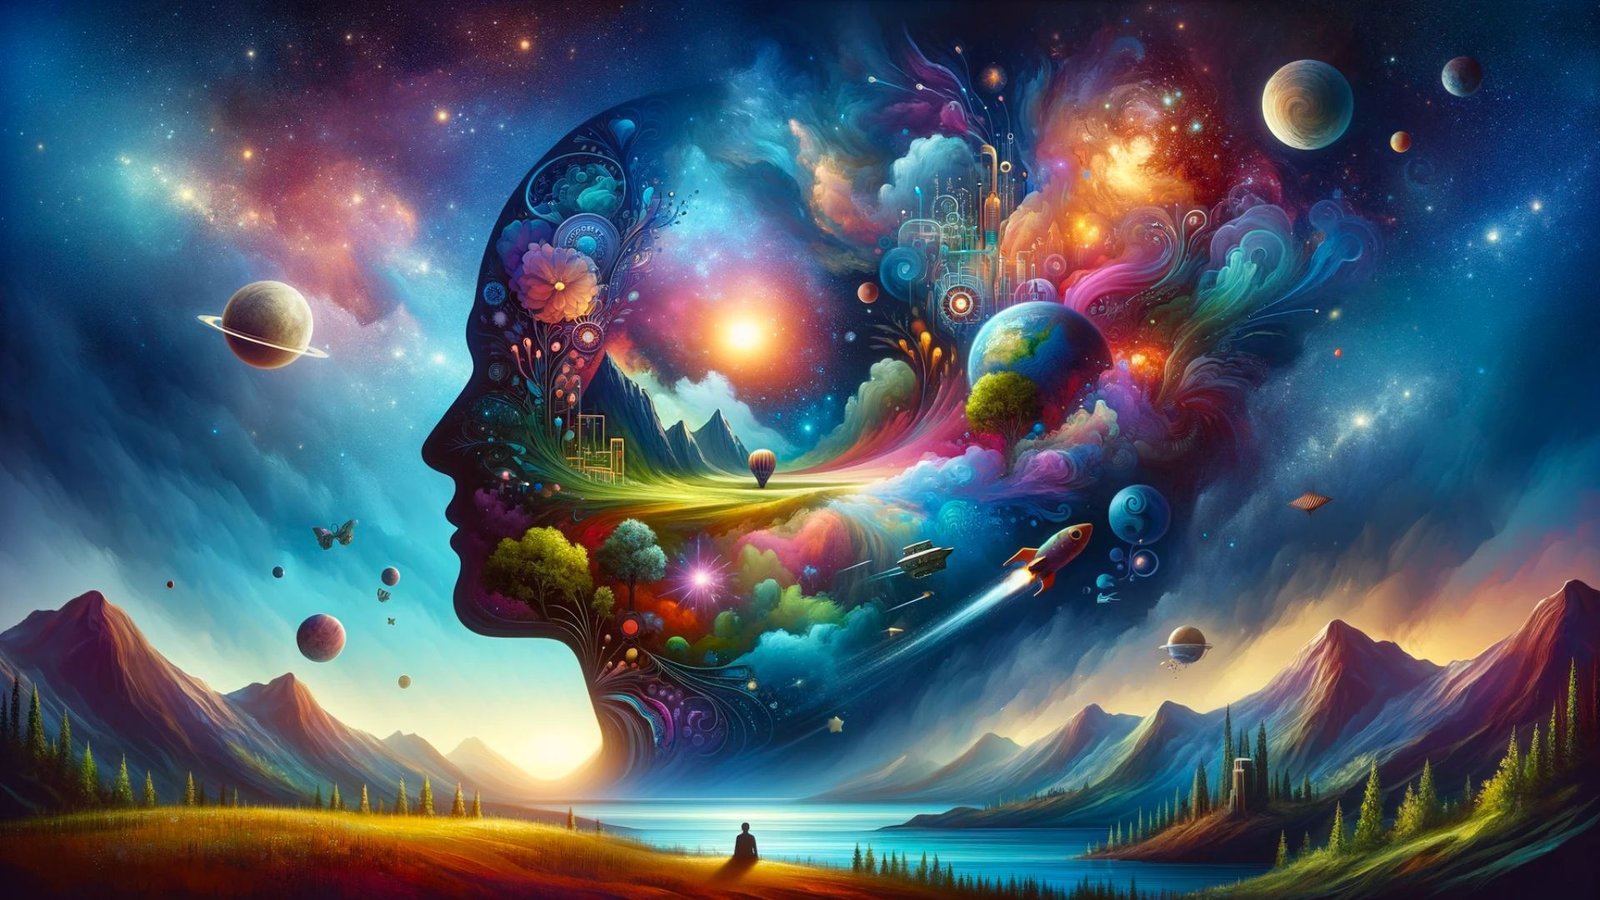
Magnific AI: AI image generation tools like Adobe Photoshop’s Generative Fill make it easy to create imaginative digital art. But the results can sometimes lack detail and feel synthetic.
This is where Magnific AI comes in. This makes them unusable for professional photo editing or print output.
Magnific AI solves this problem by using cutting-edge AI to refine and enhance these AI-generated files to a razor sharp, print-ready quality.
In this post, we’ll explore how Magnific AI helps elevate Photoshop-generated images to a stunningly photorealistic level through intelligent upscaling and detailing.
What is Magnific AI
Magnific AI is pioneering a revolution in image upscaling and enhancement through the power of generative AI. Developed by Javi Lopez and Emilio Nicolas, this tool can breathe new life into any visual asset.
At its core, Magnific AI helps convert low or standard resolution images into ultra-high resolution versions. But it moves way beyond conventional upscaling by actually adding creative details and pixels to generate new intricacies where none existed earlier.
This gives creators and editors unprecedented ability to transform and enhance their visuals. Amateur snapshots can look professionally edited while existing professional media can take on magical new dimensions.

Backed by the latest advancements in generative AI, the software thinks creatively to add nuances that maintain contextual relevance to the visuals. This helps unlock new levels of visual impact and creativity.
How to Use Magnific AI to Enhance Your Next Photo & Video Editing
Follow these simple steps to integrate Magnific AI into your creative editing process:
1. Prepare a Base Image in Photoshop
Fire up Photoshop and use Generative Fill to create a starting base image.
This will be the initial AI-generated art that Magnific will then enhance and upscale for you.
Make sure to remove any unwanted elements from your photo at this stage before sending to Magnific.
2. Upload Image to Magnific AI
Go to Magnific AI’s website and sign up for an account.
Upload your base Generative Fill image that you created in the previous step.
3. Configure Parameters in Magnific AI
Once your image is uploaded, you’ll see a series of sliders to control how the artificial intelligence enhances your photo:
- Creativity: Higher values lead to more imaginative changes
- HDR: Increasing this adds more highlight and shadow details
- Resemblance: Low values introduce more changes while high values retain the original style
There are also categories like ‘Nature & Landscape’ that provide hints to the AI on the image type.
Take your time to experiment with different settings based on the kind of output you’re aiming for.
4. Render the Final Image
When ready, click on Render to start Magnific’s AI upscaling process.
This applies intelligent algorithms to add details and textures while sharpening and enlarging your photo.
Rendering time varies from 30 seconds for simplicity edits to a few hours for complex landscape scenery.
5. Download and Re-Import into Photoshop
Once rendering completes, download the enhanced, high resolution photo from Magnific AI in PNG or other lossless format.
Head back to Photoshop and replace your original Generative Fill layer with this new polished version from Magnific.
6. Blend and Adjust Layers
Chances are some minor adjustments will be needed to blend the enhanced output cleanly.
Use layer blending modes like lighten, along with layer masks for seamless compositing.
Play around with settings and be patient. The results are worth the effort!
7. Add Final Touches
Do any final tweaks needed in terms of colors, tones or textures to complete the image.
Then export your high quality art, ready for all your creative applications!
Understanding How Magnific AI Works
The magic behind Magnific AI lies in generative AI technology that examines source images and then suggests new details to add instead of just stretching pixels.
The tool assessments aspects like textures, lighting, patterns, objects and scenery components that can be enriched to create a new high-resolution version reflecting the user’s desired outcomes.
This results in visuals with exponentially more detail compared to conventional upscaling approaches. With the ability to guide the AI, professionals and amateurs alike can achieve new creative horizons.
Key Features and Benefits of Magnific AI
Based on information available on Magnific AI so far, we can expect capabilities like:
- Insanely High Upscaling – Turn images to ultra-high resolutions by filling in intelligent new detail.
- Total Creative Control – Direct the AI to get your desired visual enhancements.
- Versatile Use Cases – Suitable for personal photos, pro illustrations, game textures & more.
- Contextual Relevance – Added elements maintain contextual relevance with the images.
- Intuitive UI – User-friendly interface for easy interaction.
- AI Magic – Let the AI surprise you with its creative suggestions.
As Magnific AI continues development powered by cutting-edge AI, it promises users an accessible portal into unlocking untapped visual potential lying latent in existing images.
FAQs: Magnific AI
-
How do you enhance images with Magnific AI?
Prepare a base image in Photoshop, upload to Magnific AI, configure parameters, render the image, and adjust in Photoshop.
-
What sets Magnific AI apart from conventional upscaling tools?
Magnific AI adds new creative details and textures, not just stretching pixels, resulting in high-resolution images with realistic intricacy.
-
What are the key features of Magnific AI?
Magnific AI offers high upscaling, creative control, versatile use cases, contextual relevance, intuitive UI, and AI-driven creativity.
-
How does Magnific AI integrate with professional photo editing?
Magnific AI works in tandem with Photoshop, enhancing AI-generated images with photorealistic details for professional-grade visual content.
Conclusion
Magnific AI takes Photoshop’s AI-powered Generative Fill to the next level through intelligent upscaling algorithms.
It helps convert low resolution computer-generated images into razor sharp masterpieces with striking photorealism.
By fine-tuning parameters in Magnific and layer adjustments back in Photoshop, you can create show-stopping imagery that looks almost indistinguishable from real photos!
The combination of Adobe’s creative tools and Magnific’s detailing prowess open amazing doors for digital artists and photographers alike.
So go ahead, enhance your next photo editing project with the power of AI!


